



Transform Your Office with Glass Wall Installation
You've probably seen the brief already. Brighten the office. Add privacy without closing everything off. Make the space feel more current for hybrid work, client meetings, and recruiting. On paper, glass walls sound like the clean answer.
They often are. A well-planned glass wall installation can separate offices, meeting rooms, touchdown areas, and collaboration zones while keeping daylight and sightlines intact. It can also go sideways fast if the project starts with finish samples and mood boards, then ignores floor flatness, ceiling variation, code approvals, door swing clearance, and the practicalities of field installation.
That gap between design intent and jobsite reality is where most avoidable problems start. A frameless wall that looked perfect in a rendering may expose an uneven slab. A conference room wall can lose privacy if the wrong glass or door detail gets chosen. A beautiful system can leak sound, bind at the door, or require rework if the substrate wasn't ready before install day.
That's why the smartest office managers treat glass walls as part design decision, part construction project. You need a reliable sequence. You need the right measurements, the right approvals, the right coordination with power and data, and a realistic understanding of what the building can support.
At Cubicle By Design, glass walls are part of a larger workplace planning conversation, not a standalone finish item. That mindset matters. It keeps the project grounded in what works, which is how you get from concept drawings to a clean handover without the usual scramble.
Introduction From Vision to Reality with Glass Walls
Most first-time buyers start with the same target. They want openness without noise spilling everywhere, privacy without dark enclosed offices, and a layout that feels updated without a full demolition project. Glass walls sit right in that sweet spot, which is why they've become a standard move in office refreshes, expansions, and reconfigurations.
The appeal is easy to understand. Glass lets teams define space without choking off light. It supports a more transparent visual environment. It also works well beside workstations, enclosed offices, reception zones, and meeting rooms when the details are handled correctly.
What's less obvious is how much the final result depends on decisions made before anyone unloads a panel from the truck. If the slab is uneven, if the ceiling line drifts, if the door hardware wasn't coordinated, or if code requirements were treated as an afterthought, the install team ends up solving design problems in the field. That's expensive and avoidable.
Practical rule: The cleaner the project brief, the cleaner the installation.
A good glass wall installation starts with a hard look at the existing building. Newer offices usually give you better surfaces and more predictable dimensions. Older offices often need shimming, leveling, profile adjustments, or revised expectations for how “frameless” the final system can really look.
That's why office managers do better when they approach glass walls as a managed scope, not a decorative add-on. You're not just selecting glass. You're approving a system that has to align with the floor, meet code, integrate with adjacent construction, and hold up under daily traffic.
Pre-Installation Planning and Code Compliance
A glass wall job can look fully defined on a rendering and still fail in the field on day one. The usual problem is not the glass. It is the gap between the design intent and the actual building conditions. I see it most often in renovated office suites where the floor rolls, the ceiling line drifts, and everyone assumes the installer can absorb the difference without changing the look.
That assumption gets expensive fast.
Before fabrication, the room needs a field survey that checks more than width and height. Floor flatness, slab level, wall plumb, ceiling consistency, column offsets, soffits, sprinkler lines, lighting, and access panels all affect whether the system will install cleanly or require visible adjustments. Frameless layouts are less forgiving. A floor that is out of tolerance can force larger gaps, extra shimming, or revisions to door clearances that were never shown on the plan.
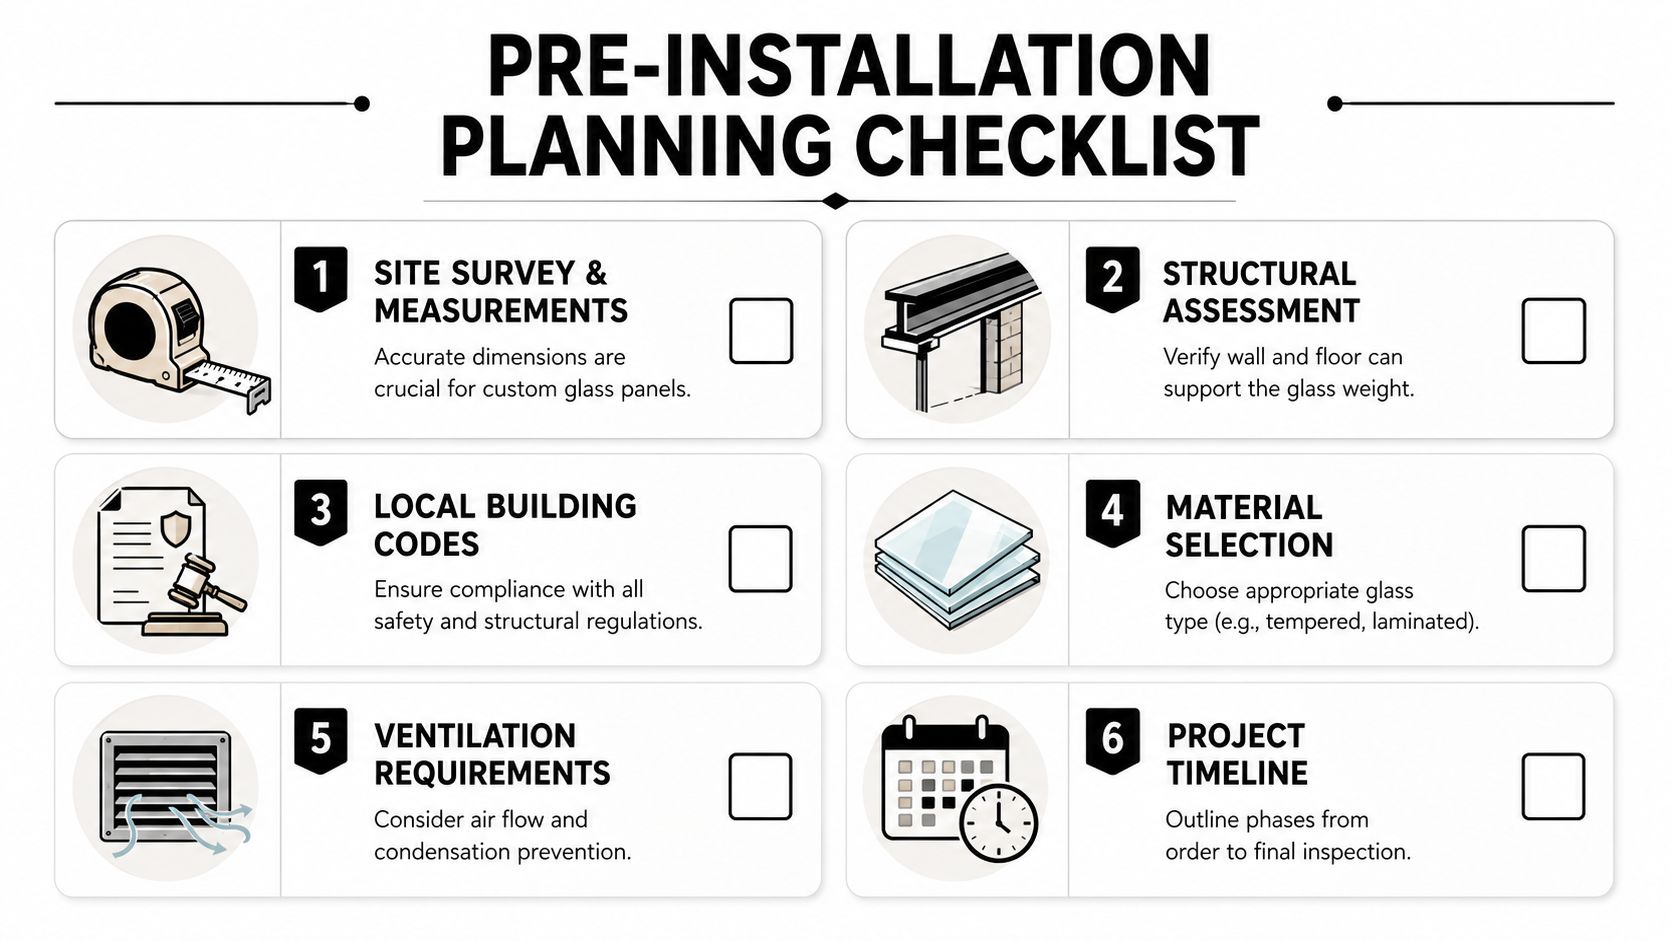
Check the room before you check the product
A useful site survey answers one question clearly. Can the chosen glass wall system fit this room without forcing field fixes that weaken the design, the function, or both?
Use this pre-order checklist:
- Verify field dimensions at multiple points: Measure the opening in several locations, not one wall-to-wall dimension pulled from a drawing.
- Check floor and ceiling variation: Flat, straight reference lines matter because glass does not hide bad substrate conditions.
- Find obstructions early: Diffusers, bulkheads, lights, heads, outlets, and furniture conflicts should be resolved before shop drawings are approved.
- Define how the room will be used: Privacy film, acoustic expectations, and door type should match the room's real use, not just its label on the plan.
- Coordinate adjacent products: If the glass run meets workstations or enclosed offices, planning it together with custom office cubicles avoids awkward leftover spaces and misaligned circulation paths.
- Resolve door function before release: Swing direction, closer type, latch hardware, and approach clearance affect safety and daily usability.
Door openings expose weak planning faster than fixed panels do. The wall can fit on paper and still create a bad room if the door clips a credenza, blocks a return path, or opens into a tight corridor. A reviewed door in glass wall detail should be part of pre-fabrication approval, especially where clearance is tight or hardware has to coordinate with access control.
Mock-ups also deserve more attention than they usually get. On straightforward office projects, even a simple field verification of a corner condition, a door jamb, or a head detail can prevent a change order later. That is particularly true when the design calls for minimal sightlines but the existing building is anything but straight.
Code approval is part of scope control
Code review needs to happen while the system is still being defined, not after material is ordered. Office managers sometimes treat permits and compliance as paperwork that runs in parallel with design. In practice, code requirements affect glass type, framing, door hardware, egress, and in some cases whether the proposed assembly is even allowed in that location.
If a glazed partition is part of a fire-resisting construction, the assembly has to meet the required fire-resistance rating under the applicable local code. Safety glazing requirements, impact locations, door maneuvering clearances, and accessibility rules also need to be confirmed against jurisdictional requirements before approval. For regional permit work, local rules can change by scope and municipality. If your team is sorting out tenant improvement approvals, this guide to navigating Utah's permit requirements shows the kind of permit review that should happen before the schedule is locked.
One more planning mistake shows up late and costs a lot. Teams approve oversized panel concepts before confirming what the opening, support conditions, and handling path will allow. Published technical guidance from AIS Glass notes limits related to panel area, span, and aspect ratio, all of which affect thickness selection and structural safety. The practical takeaway is simple. If the aesthetic depends on large uninterrupted panes, verify structural support, code classification, and handling logistics before anyone signs off on the final layout.
Proper sealing belongs in planning too. Perimeter joints, head conditions, door bottom details, and transitions to adjacent construction all affect acoustic control, air movement, and the finished appearance. If those details are left to installer judgment on site, the result is usually inconsistent. Good projects solve those junctions on the drawing set, then confirm them again during field measurement.
Choosing Your Glass Wall System and Materials
A lot of budget overruns start here. The team approves a clean all-glass concept, then field conditions force thicker profiles, smaller panels, or hardware changes that should have been settled before procurement. Good system selection closes that gap early, while the design is still flexible.
Most office projects come down to a framed system or a frameless one. The difference is not just appearance. It affects how much installation tolerance the system can absorb, how the wall handles acoustic gaps, how doors perform over time, and how much correction work the site may need before glass arrives.
For a broad view of available systems and finish options, start with glass office partitions. Then judge each option against the actual slab, ceiling, and adjoining construction in your suite.
Framed systems versus frameless systems
Framed systems usually give the install team more room to solve real-world building problems. If the floor is slightly out, the head condition is inconsistent, or a return needs to tie neatly into another partition, framed profiles make that work easier to execute cleanly. Frameless systems deliver the lighter visual line many clients want, but they show field errors fast. A floor dip that would disappear inside a framed condition can become an obvious uneven reveal in frameless glass.
| Feature | Framed System (e.g., CBD Series 700/800) | Frameless System (e.g., CBD Series 500) |
|---|---|---|
| Aesthetics | Stronger architectural outline, visible framing, easier to match other office elements | Minimal visual interruption, cleaner sightlines, more open feel |
| Acoustic isolation | Better potential for controlled seals and more defined perimeter conditions | Depends heavily on gap control, door detailing, and sealing quality |
| Budget | Often easier to manage when field conditions need adjustment | Can rise if the site requires extra leveling, profile corrections, or custom detailing |
| Installation difficulty | More forgiving in imperfect buildings | Less forgiving, especially on uneven floors and ceilings |
| Privacy options | Works well with clear, frosted, and other privacy treatments | Works well visually, but privacy details need tighter coordination |
| Best use cases | Offices, conference rooms, mixed layouts, spaces with older building conditions | Feature rooms, modern interiors, executive spaces with cleaner substrates |
Match the system to the building, not just the rendering
Framed walls are often the safer choice in tenant improvement work, especially in older buildings or spaces with patched floors, uneven soffits, and busy circulation. They also make door integration more predictable. That matters because door performance is where many glass wall complaints show up first.
Frameless walls are a good fit when the substrate is consistent, the detailing is disciplined, and the visual goal justifies the tighter tolerances. They can look excellent in conference rooms, executive offices, and client-facing spaces. They also leave less room for installer improvisation. If the opening is out of square or the sealing detail was not resolved on the drawing set, the finished wall will show it.
Material selection should stay tied to room use, not just appearance. Reviewing glass for office applications can help teams compare privacy, light transmission, and finish choices against how the room will function.
Glass type and hardware are part of the system
The panel specification has to match the opening, the use case, and the code path already established in planning. For office interiors, that usually means confirming where safety glazing is required, whether tempered or laminated glass is the better fit, what thickness the span and hardware demand, and whether any rated assembly is involved. If the wall includes a door, the hinge, closer, patch fittings, lock prep, and pull style all need to be selected as one working package.
“Clear glass wall” is not enough information for purchasing or installation.
You are also choosing:
- Glass type: clear, low-iron, frosted, gradient film, or another privacy treatment
- Safety construction: tempered, laminated, or another code-appropriate build-up
- Hardware finish: a finish that matches nearby architectural metals and holds up under daily use
- Door style: pivot, swing, framed, or frameless, based on traffic and control needs
- Perimeter detail: how the wall meets floor, wall, ceiling, and any adjacent partition
- Seal strategy: gaskets, sweeps, and joint sealants that support acoustic performance and cleaner sightlines
Hardware deserves more scrutiny than it usually gets. On paper, low-cost fittings can look interchangeable with better sets. In use, the difference shows up as sagging doors, loose handles, poor closing action, and finish wear that makes a new installation look tired too soon.
I usually tell office managers to spend money where adjustment and service life matter. Good glass looks bad if the door drags, rattles, or stops latching after a few months.
Site Preparation and Essential Tooling
A glass wall project can look fully designed on paper and still fail on install day because the room is not ready for glass. The problems usually start at the floor: a slab that is out of tolerance, a finished surface that was not protected, or wall conditions that were assumed instead of measured. Those are not cosmetic issues. They affect alignment, door operation, seal quality, and whether the finished wall looks intentional or patched together.
Good prep removes guesswork before the first panel comes off the rack. Teams often use planning tools such as the Cubicle Designer to sort out spacing, workstation relationships, and circulation before field work starts. That helps. It does not replace a site check with real measurements, photos, and clear responsibility for every opening, anchor point, and adjacent finish.
What needs to happen before the crew arrives
Start with access and staging. Delivery paths need to be clear, elevators reserved where required, and a protected area set aside for glass and hardware. Glass should never be staged in a spot where other trades are still cutting, painting, or moving carts through the same path.
Then verify the surfaces that will carry the system. Floor flatness matters more than many first-time buyers expect, especially with long runs of head and base channel or frameless panels that leave very little room to hide variation. A floor that waves even slightly can create uneven reveals, force excessive shimming, and leave sealant joints that look inconsistent from one bay to the next.
Check these items before the crew is dispatched:
- Substrate readiness: Floors, walls, and ceilings must be complete, dry, and able to accept anchors at the specified locations.
- Field dimensions: Measure the opening after finishes are installed, not from an earlier shell dimension.
- Coordination with adjacent work: Confirm ceiling devices, lighting, sprinklers, diffusers, and electrical locations so nothing conflicts with the wall line or door swing.
- Furniture interfaces: Verify real clearances around desks, credenzas, and traffic paths so the glass wall works in use, not just on the plan.
- Approved drawing set: The installation team should have the current approved drawings, hardware schedule, and any site-specific revisions.
If your project includes broader reconfiguration work, coordinate office furniture installation before glass delivery so trades are not competing for the same floor space.
I tell clients to pay close attention to floor and wall conditions because rework here gets expensive fast. If the crew discovers an out-of-plumb wall or a floor dip after the channels are laid out, the fix is rarely elegant. It usually means delays, added labor, and compromises at the perimeter that everyone notices later.
Core tools that actually matter on site
The tool list is not long, but every item has a job tied to quality control or safety.
- Laser level and verified hand level: Used to establish control lines, check plumb, and confirm that channels and jambs stay consistent across the full run.
- Glass suction cups rated for the panel size: Needed for safe handling, controlled placement, and small position adjustments without touching visible glass with bare hands.
- Shims, packers, and setting accessories approved for the system: Used to correct minor field variation while keeping the glass properly supported.
- Drill, anchors, and bits matched to the substrate: Concrete, steel, and wood backing each require the right fastening method.
- Sealant gun and manufacturer-approved sealants or gaskets: Perimeter joints need clean, controlled application if you want good sightlines and dependable acoustic performance.
- Clean gloves, edge protection, and glass-safe cleaning supplies: These prevent chips, fingerprints, and contamination that become hard to remove after sealing.
- PPE: Eye protection, cut-resistant gloves, and any site-required equipment for handling and lifting.
A cheap or poorly maintained tool usually shows up in the finish. Weak suction cups lead to awkward handling. An inaccurate laser creates a layout error that travels across the whole wall. Dirty staging pads can scratch glass before it is even installed.
The point of tooling is control. Control of layout, control of handling, and control of the final joint. That is what closes the gap between the design rendering everyone approved and a wall that fits the room you have.
The Core Glass Wall Installation Process
A glass wall project usually feels straightforward until the first panel meets a floor that is not flat or an opening that is slightly out of square. That is where installation quality is won or lost. The drawing may show clean lines and equal reveals. The field condition decides whether you realize them.
The sequence changes by system, but the job still follows the same discipline. Set the frame or base profiles to the layout. Confirm support at every load point. Place glass without introducing stress. Then fine-tune alignment before sealing and hardware adjustment.
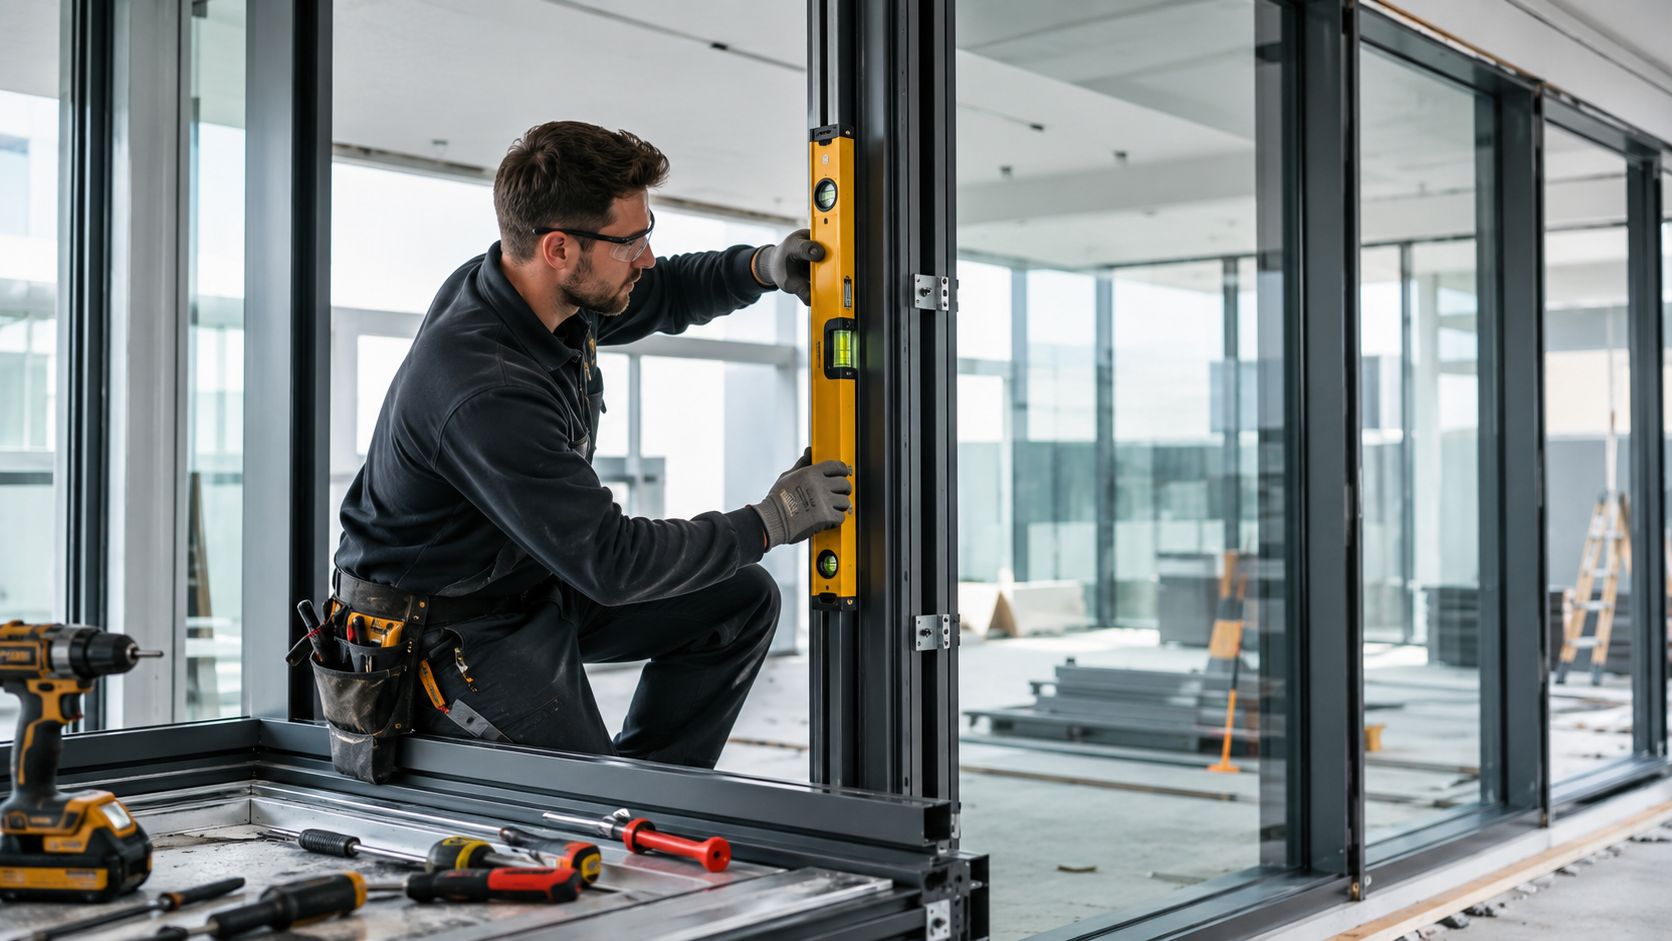
Setting the framework
For framed stick-built systems, installers usually start with the vertical mullions, plumb them from the primary anchors, and lock in the intermediate and bottom connections only after the line is confirmed across the full run. Horizontal transoms follow after that. The order matters because the frame controls every sightline, door opening, and gasket condition that comes later.
Small errors spread fast here. A floor that rises across the room can force one mullion high, throw the next opening off, and leave the glass crew trying to correct a framing problem with shims they should not be using. Good crews keep checking plumb, level, and face alignment as they go instead of waiting until the frame is fully assembled.
Support points need the same discipline. Setting blocks, packers, and system-specific isolators have to sit where the manufacturer intends so the glass load transfers correctly into the frame or channel. Frameless systems need consistent panel spacing and room for minor movement. If panels are packed too tight, the wall can bind, chip at an edge, or telegraph irregular gaps that no amount of sealant will hide.
Positioning the glass
Glass placement should look controlled because it is controlled. The panel is lifted, staged, and lowered into position without forcing corners, dragging edges, or using the glass to pull the frame into alignment.
A common frameless sequence looks like this:
- Set the top edge into the upper channel or profile.
- Lower the panel onto the approved support points in the bottom channel.
- Use suction cups to shift the panel into final position.
- Check reveal, plumb, and edge clearance before locking the panel in place.
The field check matters more than the sequence itself. I have seen panels measure correctly on paper and still sit wrong because the slab dipped under one end of the channel. That is why installers should verify the panel at the top, middle, and bottom, not just at eye level. Uneven reveals usually point back to support and layout, not the glass.
If you are comparing framed and frameless options for conference rooms, private offices, or open-plan dividers, the details shown in these office glass wall partitions help explain why some systems tolerate field variation better than others.
Doors, hardware, and coordinated trades
Doors raise the difficulty. The opening has to be right before hinges, closers, pulls, strikes, or locks go on. Hardware should confirm alignment, not compensate for bad framing.
A door leaf installed into an opening that is slightly twisted may still close during punch day. It often starts drifting, scraping, or mis-latching after repeated use. That is a costly callback because the problem usually traces back to the frame, floor condition, or anchoring, not the hardware itself.
Trade coordination also shows up here. Access control, privacy glass switches, electric strikes, and floor closers all need backing, power, and rough-in locations set before the glass goes in. Late changes are hard on glass projects because there is very little room to drill, patch, or reroute once finished panels are standing. If you are vetting installers for this phase, it helps to start with understanding bonded vs insured so you know how to screen contractors for liability and workmanship risk.
A short installation walkthrough helps visualize the field sequence before your own project starts.
Sealing and final alignment
The wall is only performing properly after final alignment and sealing are complete. Framed systems rely on gaskets, pressure components, and clean perimeter joints. Frameless systems depend on consistent spacing, proper setting, and sealant or dry-joint details applied to clean surfaces.
Interior office walls do not face weather like exterior glazing, but poor sealing still causes problems. Acoustic leakage at the head or jamb can make a meeting room feel exposed. Inconsistent sealant lines also turn a high-design partition into something that looks improvised. Clean edges, correct joint depth, and compatible materials matter as much as the bead you see from the corridor.
The last inspection should be practical. Sight down the run for waviness. Check that doors swing and latch without force. Confirm that panel gaps stay consistent from top to bottom. Clean the glass after fastening, adjustment, and sealing are done so the finish you hand over is the finish that stays.
Finishing Touches Handover and When to Hire a Pro
A glass wall can be structurally installed and still feel unfinished. The final phase is where the project starts reading as complete. Sealant lines need to be consistent. Trim conditions need to look intentional. Hardware has to operate smoothly without scraping, drifting, or requiring force.
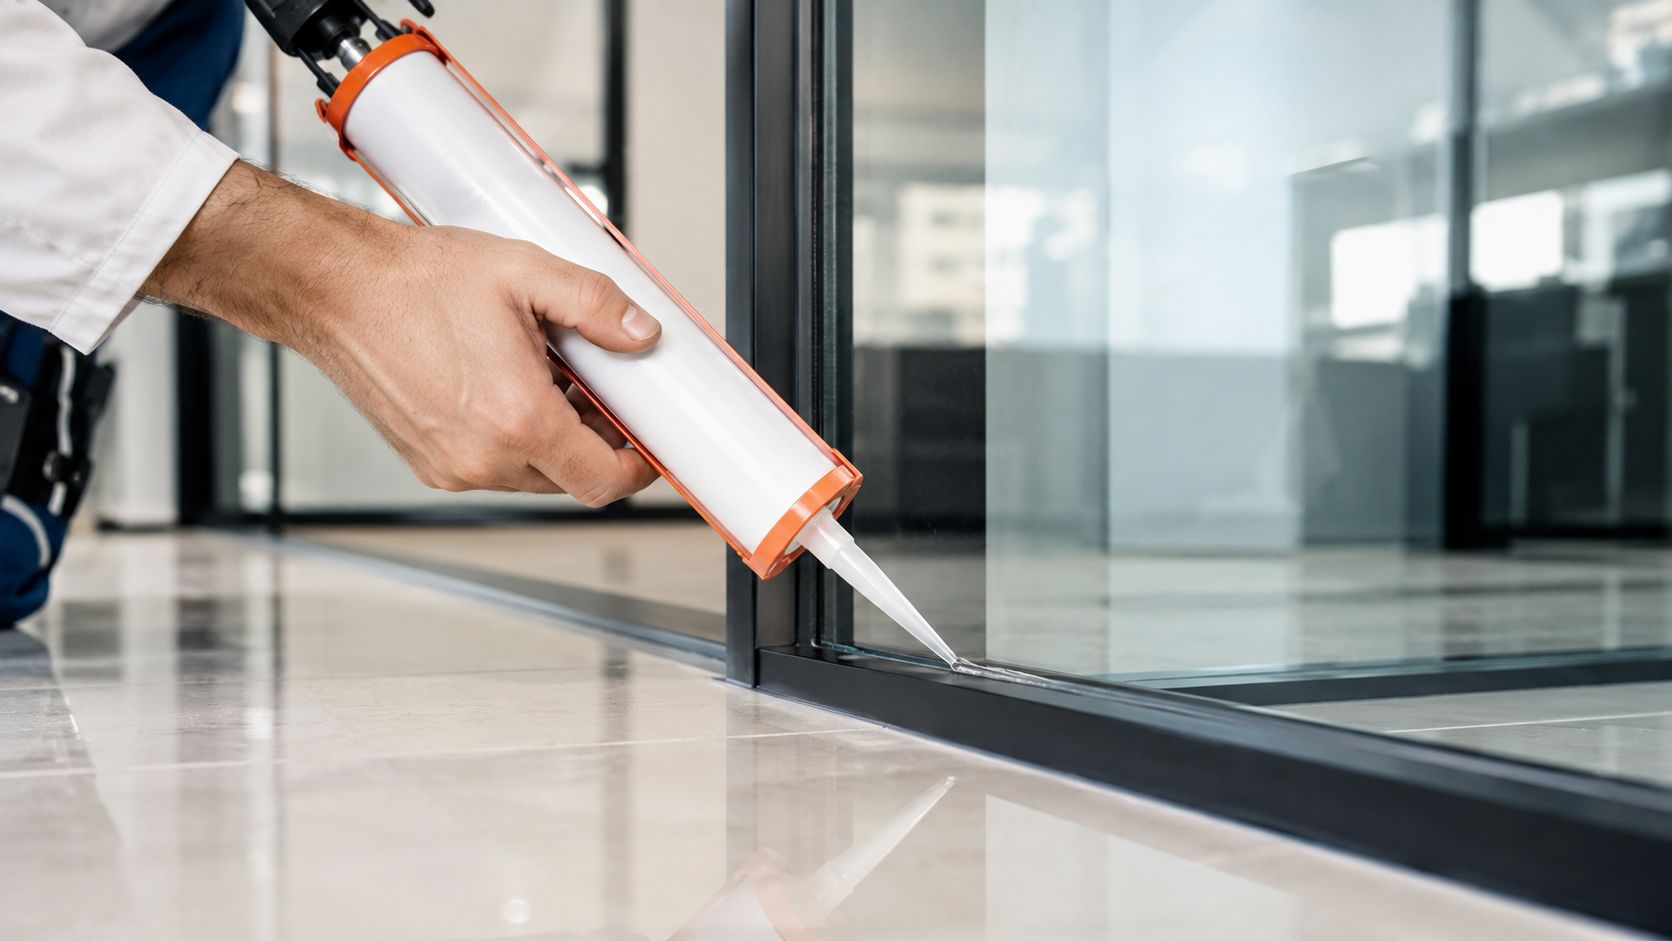
The handover should be more than a quick walk-through
A proper handover covers function, finish, and maintenance. The office manager or facilities lead should inspect the installation with the installer and note anything that needs correction before sign-off.
Use a closeout list that includes:
- Sealant review: Look for continuous, clean application at perimeter joints and transitions.
- Door operation: Open, close, latch, and recheck alignment after repeated cycles.
- Glass condition: Check for scratches, chips, edge damage, and adhesive residue.
- Hardware check: Confirm pulls, closers, and locks are secure and operating as intended.
- Cleaning guidance: Make sure the team knows what products and methods are safe for the glass and hardware finish.
One of the most common failure points in curtain wall work is incomplete perimeter sealing at transitions, including floor lines, columns, and roof or head conditions, according to the earlier cited glazing guidance. That same lesson applies indoors. Weak sealant work causes callbacks because it's visible, functional, and hard to hide.
Professional installation earns its cost on complex jobs
Not every project needs a specialty crew from day one. A short, simple interior run in a very predictable suite is different from a full conference room with doors, electrical coordination, ceiling variation, and strict finish expectations.
The line usually gets crossed when the project includes one or more of these conditions:
- Uneven floors or ceilings: Frameless systems become much less forgiving.
- Fire-rated requirements: The approval path and product specification get more technical.
- Large panels or unusual spans: Engineering and handling risk increase.
- Door integration: Misalignment becomes more likely if the opening is not precise.
- Tight schedule pressure: Rework hurts more when occupancy dates are fixed.
The commercial scale of this work explains why experienced installation matters. The global glass curtain wall market is projected to reach USD 97.13 billion by 2027 according to PR Newswire's market report summary. That scale reflects how much value owners place on code-compliant installation, long-term performance, and avoiding failures that are expensive to reopen later.
Hiring the right contractor also means vetting risk, not just price. If your procurement team is comparing vendors, this short explanation of understanding bonded vs insured is useful background for evaluating who's covering what.
A low bid can get expensive when the fix requires removing glass, reworking hardware, and rescheduling the office move.
If the project has enough complexity that a mistake would affect occupancy, safety, or visible finish quality, bring in a specialist. That's usually cheaper than discovering after handover that the door binds, the reveals drift, or the system wasn't sealed and supported the way it should have been.
For projects that need budgeting, layout review, and installation planning in one process, start with a glass wall quote request.
Cubicle By Design helps organizations plan office layouts, coordinate modular furniture and glass wall systems, and move projects from concept to installation with practical attention to fit, code, and everyday use. If you're evaluating a glass wall installation for offices, meeting rooms, or reconfigured team space, Cubicle By Design is a straightforward place to start the conversation.