14 Feb A Practical Guide to Finding the Right Privacy Screen for Cubicle Setups
A privacy screen for a cubicle is so much more than a simple divider. Think of it as a tool for carving out a focused, productive, and comfortable personal workspace right in the middle of a busy office. It's essential for cutting down on visual distractions, dampening ambient noise, and giving employees that much-needed sense of personal territory—something that’s absolutely critical for deep work and overall job satisfaction.
Why Privacy Screens Are Crucial in Modern Offices
In any modern workplace, the constant hum of activity can be a double-edged sword. Collaboration is great, but the non-stop visual and auditory interruptions often get in the way of the very focus needed for high-quality work. Picture a bustling sales floor where every movement catches your eye, or a tech space where developers need total concentration to code. When personal space isn't clearly defined, productivity is the first thing to suffer.
This is where a well-chosen privacy screen for cubicle setups becomes a strategic business tool, not just another piece of furniture. At Cubicle By Design, we see them as fundamental components for building a balanced work environment. The right screen can transform an open-plan area into a series of productive zones, fostering both individual focus and easy team collaboration when it's needed.
The Psychological Impact of Personal Space
It’s been shown time and again: employees who feel they have some control over their immediate environment report higher job satisfaction and lower stress levels. A simple privacy screen delivers this by creating a clear, physical boundary. This small change brings some significant psychological benefits:
- Reduces "On-Display" Anxiety: It gets rid of that feeling of being constantly watched, allowing people to concentrate on their work without feeling self-conscious.
- Minimizes Task-Switching: By blocking peripheral motion, screens help the brain stay locked on a single task, avoiding the mental drain of constantly re-focusing.
- Fosters a Sense of Ownership: Having a defined space, even a small one, gives employees a sense of belonging and personal ownership over their work.
The demand for these solutions is growing, and fast. The global market for cubicle privacy screen fabric was valued between $1.8 and $2.34 billion and is projected to expand significantly. It's clear that more and more businesses are recognizing their value.
A thoughtfully designed workspace respects the individual's need for concentration just as much as it supports group collaboration. Privacy screens are the simplest, most effective way to strike that essential balance.
To get a better handle on the variety of solutions out there, exploring options like Blind Screens can offer some valuable insight into what might work for your office. Ultimately, investing in privacy isn't about building walls between people. It's about building a more effective, less stressful, and more productive workplace for everyone on your team.
Choosing the Right Material for Your Workspace
Picking the right material for your privacy screen for cubicle setups is about way more than just looks. It’s a strategic choice that defines how your office feels and functions, directly impacting everything from noise levels to the flow of natural light.
Think about it this way: a high-energy call center needs something totally different from a collaborative design studio. For the call center, you'd want acoustic fabric panels that soak up sound, keeping conversations from bleeding over and creating a more focused atmosphere. The design studio, on the other hand, might go for frosted acrylic to keep the space bright and airy while still giving each person their own defined zone.
Fabric and Acoustic Felt
Fabric screens are the go-to for a reason. They give off a classic, professional vibe and come in just about any color you can imagine, making it easy to match your company's branding. Standard fabric does a decent job of providing visual privacy, but if noise is the real enemy, you'll want to upgrade to acoustic felt.
Made from dense, compressed fibers, acoustic felt is a superstar at sound absorption. It really cuts down on the chatter and keyboard clatter between workstations, which is a lifesaver for:
- Sales Teams: So one person's pitch doesn't become everyone's distraction.
- HR Departments: Where confidential conversations are a daily reality.
- High-Density Work Areas: To dial down the collective hum of a busy office.
You'll also see a lot of modern offices using decorative films on glass partitions for a similar effect. When you're weighing your options, checking out a guide on the best window film for privacy can spark some great ideas, especially if you're leaning toward frosted or opaque looks for glass screens.
Frosted Acrylic and Clear Glass
If your goal is a modern, light-filled workspace, acrylic and glass are fantastic options. They create that necessary separation without boxing everyone in or making the office feel cramped.
Frosted acrylic—what most people call plexiglass—really offers the best of both worlds. It blurs out shapes and details for solid visual privacy, but it also diffuses light beautifully. This keeps things bright and open, preventing harsh shadows and making it perfect for teams that need to feel connected but still require their own space.
Clear glass panels are less about privacy and more about defining space and adding a layer of safety. They work great as sneeze guards and physical barriers while keeping sightlines completely open. You’ll often find them in reception areas or roles where total visibility is a must. For a better sense of how different dividers can function, take a look at our full lineup of desk divider panels.
Privacy Screen Material Comparison
To make the decision a bit easier, it helps to see how the most common materials stack up against each other. Each one has its own strengths, so it's all about matching the material to your specific workplace needs.
| Material Type | Visual Privacy Level | Acoustic Properties | Best For | Compatibility |
|---|---|---|---|---|
| Acoustic Fabric | High (Opaque) | Excellent | Open offices, call centers, HR departments | Most cubicle systems, including Series 7 |
| Standard Fabric | High (Opaque) | Good | General office use, branding with colors | Most cubicle systems, including Series 7 |
| Frosted Acrylic | Medium (Translucent) | Poor | Collaborative spaces, modern aesthetics | Most cubicle systems, glass walls |
| Clear Glass | Low (Transparent) | Poor | Reception areas, sneeze guards | Most cubicle systems, glass walls |
This table should give you a clear starting point for figuring out what will work best for your team and your space.
The right material doesn't just divide space; it enhances it. The goal is to choose a material that solves your specific workplace challenges, whether that's too much noise, a lack of light, or constant visual distraction.
Ultimately, your decision comes down to what your office truly needs. Are you trying to quiet a loud floor, or do you just need to create personal boundaries while keeping the vibe open and collaborative? Nail down that answer, and you're well on your way to choosing the perfect material for your cubicles.
How to Measure Your Cubicle for a Perfect Fit
Let's be honest, a privacy screen that doesn't fit right just looks sloppy. It can sag, look unprofessional, and ultimately fail to do its job. Nailing the measurements is the single most important thing you can do to make sure your new screens look like they were always part of the office design. It sounds technical, but it’s actually pretty straightforward.
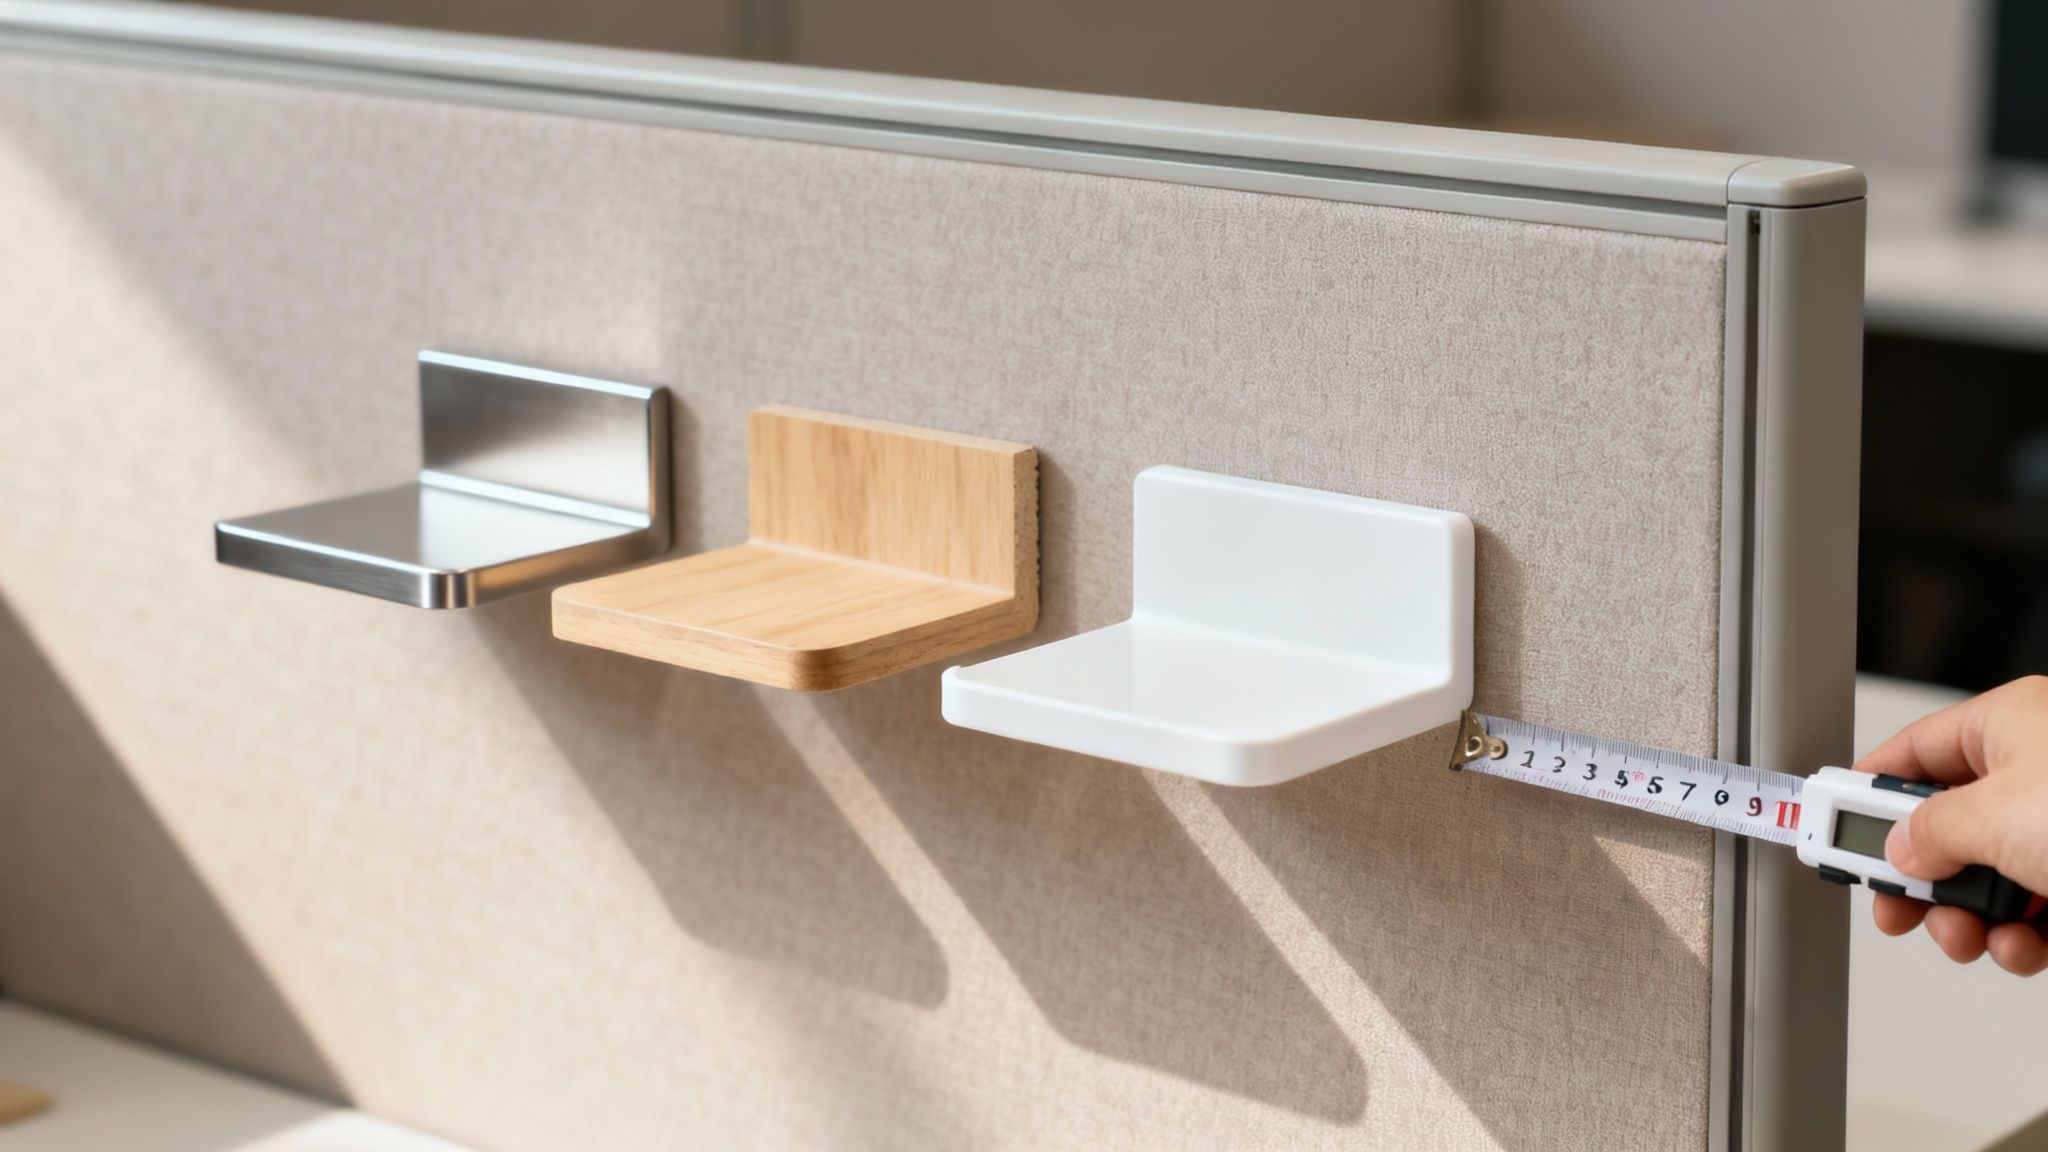
All it really takes is a tape measure and a few minutes of your time. You’re focusing on three key numbers: the width of the panel where the screen will sit, how high you want the screen to go, and how thick the panel is. That's it.
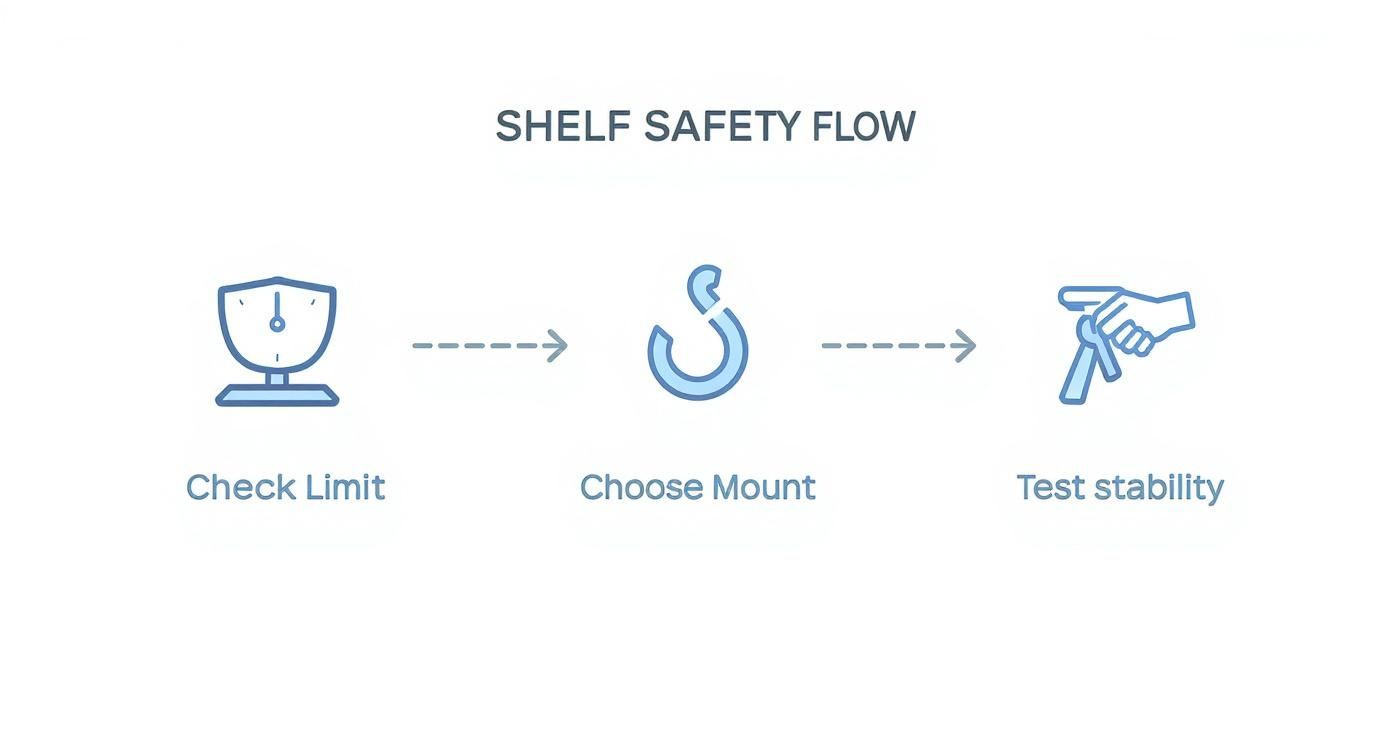
This quick visual breaks it down. By focusing on just these three dimensions—height, width, and depth—you’ll have everything you need for a perfect fit.
Mastering the Key Dimensions
First up is the width. Simply measure the length along the top of your cubicle panel, from one end to the other. If you're outfitting multiple sides of a cubicle, make sure to measure each panel individually. You'd be surprised how often they can vary slightly.
Next, think about the height. How much privacy are your people looking for? If you just want to create some visual separation while seated, a screen that extends 12 to 18 inches above the desktop usually does the trick. But for roles that demand more focus or handle sensitive information, going with 24 inches or more is a much better bet.
Last, and this one is critical, measure the thickness of the cubicle panel itself. This is the measurement that dictates which mounting clamps will work. Use your tape measure to get the exact thickness of the wall right where the clamp will attach.
Pro Tip: Measure twice. Always. It’s a simple habit that has saved our clients from countless headaches and costly reorders. A screen that's off by even half an inch can throw off the entire look and feel of a workstation.
Avoiding Common Measurement Pitfalls
A few small details can derail your measurements if you aren't paying attention. One of the biggest mistakes we see is people forgetting to account for hardware that's already on the panel.
Take a quick look for any pre-existing brackets, cable management clips, or decorative caps along the top of the panel. You need to measure the clear, unobstructed length available for the screen. Also, think about the path of any monitor arms or phone cords. You want to ensure your new screen won’t get in their way. You can learn more about typical layouts by checking out these standard cubicle dimensions.
Choosing the Right Mounting Option
That panel thickness measurement you took directly informs your mounting hardware choice. Generally, you’ll be choosing between two common types: top-mount clamps and side-mount brackets.
Top-Mount Clamps: These are the most popular for a reason—they're incredibly versatile. They slide right over the top of the panel and are tightened from below, creating a solid grip without any drilling. They’re perfect for standard, flat-topped cubicle walls.
Side-Mount Brackets: These are your go-to when a top clamp just won't work. They attach to the side of the work surface or panel, providing a different type of stability for unique setups.
When you place your order, just double-check that the clamp’s adjustable range matches your panel’s thickness. Our high-quality workstation cubicles are specifically designed for easy integration with all sorts of mounting hardware, ensuring a secure and professional finish every time.
Designing Your Ideal Workspace with Our Customization Tool
Bringing a vision to life is about more than just picking out parts; it’s about seeing how they all fit and function together. This is exactly where our interactive design tools make a world of difference. You can stop imagining and start building a virtual model of your future workspace, integrating your chosen privacy screens right into the design from the get-go. With our cubicle designer tool, you can design a workstation as a core component, not an afterthought.
Instead of tacking on a privacy screen as an afterthought, our approach lets you design it as a core component of the complete workstation. This guarantees the final product is cohesive, functional, and perfectly dialed in to what your team actually needs.
A Real-World Design Scenario
Let's get practical. Imagine you're an HR manager tasked with creating a new, confidential onboarding area. The goal is to design a space that feels welcoming but also provides the necessary discretion for sensitive conversations about payroll and benefits. A generic, off-the-shelf setup just isn't going to cut it.
With our online design tool, you can tackle this challenge head-on by building the entire workstation from the ground up. You could select a taller, 24-inch fabric panel to ensure conversations remain private and pair it with specific storage options and surface finishes that match your office aesthetic.
Here's a glimpse of the interface where you can start mapping out your own custom layout.
This tool lets you visually experiment with different heights and materials, making it easy to see exactly how your choices impact the overall vibe—from privacy levels to openness.
From Concept to Visualization
The true power here is in the visualization. You aren't just ticking boxes on a list; you're actively building and seeing the results in real-time. It’s a hands-on process that simplifies what could otherwise be a series of complicated decisions.
- Specify Exact Dimensions: Punch in the height, width, and depth you need to guarantee a perfect fit for your floor plan.
- Explore Finishes: Click through different fabric colors and material textures until you find the perfect match for your company's look and feel.
- Integrate Components: Drag and drop in storage, electrical outlets, and other features to build out a fully functional workstation.
This process is invaluable for creating specialized areas. You can design low-walled workstation cubicles with minimal screens for a collaborative sales team, then switch gears to design fully enclosed private office cubicles for your finance department, all in the same session.
By visualizing the entire setup before you place an order, you completely eliminate the guesswork. You gain the confidence that the privacy screens and cubicles you design will not only fit the space but will also function exactly as you intended.
This integrated design method ensures that every single element, especially the crucial privacy screen for cubicle selection, contributes to a more productive and comfortable work environment. For more ideas on how this technology can reshape your office, learn more about transforming your office with our interactive cubicle designer. It’s the most effective way to make sure your investment perfectly meets your team's needs.
Installation and Long-Term Care Tips
Your custom-designed privacy screens have arrived—now for the fun part. Proper installation is what brings your vision to life, making sure your new screens are secure, level, and perfectly integrated into the workspace. With just a few basic tools and a little attention to detail, this whole process is usually pretty straightforward.
The essentials are simple: you'll probably just need a tape measure, a level, and whatever Allen wrench or screwdriver came with your mounting hardware. It’s always a good idea to lay a soft cloth down on the desk surface before you get started to prevent any accidental scratches.
For that truly professional finish, take the time to ensure each privacy screen for cubicle setups is perfectly level and tightened down. A wobbly screen doesn't just look sloppy; it can be a real distraction. Double-checking that all the clamps are snug will pay off in the long run. Don't forget about cable management, either—a few clips or ties to route wires neatly along the base of the screen will create a clean, hazard-free workstation.
Of course, if you're tackling a larger project, bringing in the pros might be the way to go. You can find more information about our office furniture installation services to see how we can handle the heavy lifting for you.
Keeping Your Screens in Top Condition
Once everything is installed, a little bit of routine maintenance is all it takes to keep your screens looking brand new for years. How you clean them depends entirely on the material you chose, and using the wrong products can cause some serious, irreversible damage.
Proper care isn't just about looks; it protects your investment and ensures your office continues to feel professional and well-maintained. A clean workspace has a direct impact on employee morale and focus.
Here are a few simple guidelines for each material type:
- Fabric and Acoustic Panels: The best approach here is regular dusting with a soft brush attachment on a vacuum. If a small spill happens, blot it immediately with a clean, dry cloth. You can then use a mild, water-based cleaner, but always test it on a hidden spot first.
- Acrylic or Glass Screens: Steer clear of ammonia-based cleaners like Windex. They can cause acrylic to look cloudy over time. Instead, stick with a soft microfiber cloth and a simple mix of mild soap and water to prevent scratches and keep them crystal clear.
- Hardware and Mounts: Every so often, wipe down the metal clamps and brackets with a dry cloth to get rid of dust. It's also a good idea to check that all the connections are still tight, especially in high-traffic parts of the office.
A consistent, gentle cleaning routine is always more effective than an occasional deep scrub. It stops dirt from building up and protects the material's finish, extending the life and look of your privacy screens.
By following these simple installation and care tips, you’re making sure your new screens not only deliver the privacy you need but also remain a durable, attractive part of your office for a long, long time.
Common Questions About Cubicle Privacy Screens
When you start thinking about upgrading your office with a privacy screen for cubicle setups, some practical questions always pop up. We hear them all the time from facilities managers and office leaders weighing their options. I've gathered the most common ones here to give you clear, straightforward answers and help you feel confident in your decision.
Can I Add Privacy Screens to My Existing Cubicles?
Yes, absolutely. In fact, retrofitting privacy screens onto existing cubicles is one of the most common projects we help with. Modern screens are designed specifically for this kind of versatility.
The single most important detail is ensuring compatibility. Our screens at Cubicle By Design come with a variety of mounting options, including adjustable clamps designed to fit different panel thicknesses. Before you order, just take a quick measurement of your cubicle walls. This simple step guarantees you get the right hardware for a secure, seamless fit.
How High Should a Cubicle Privacy Screen Be?
The perfect height really comes down to balancing privacy with the work being done. There's no one-size-fits-all answer, but here are some guidelines from what we've seen work best:
- For Collaborative Teams: A screen that extends 12-18 inches above the desk surface usually hits the sweet spot. It's high enough to block direct sightlines when people are seated and focused but low enough for easy conversation when they stand up.
- For High-Concentration Roles: Think finance, HR, or any job that requires deep focus. For these teams, a screen extending 24 inches or more is far more effective at creating a true bubble of concentration.
Take a look at the primary tasks for each department. The goal is to match the screen height to the specific work happening there, creating an environment where everyone can be productive.
Will Acoustic Screens Make My Office Silent?
While they won't create a soundproof vault, you shouldn't underestimate the impact of high-quality acoustic screens. They make a very noticeable difference by dampening the ambient buzz of a busy office—background chatter, keyboard clicks, and ringing phones.
These panels are engineered with sound-absorbing materials. Their main job is to cut down on noise bleeding from one workstation to the next, which significantly improves speech privacy. It becomes much harder for neighbors to overhear sensitive or distracting conversations, making them a powerful tool for a more focused and confidential workspace.
We often hear "privacy screen" and "cubicle extender" used interchangeably, but they can have slightly different jobs. A screen typically adds privacy to a desk or low wall, while an extender is all about adding height to existing cubicle panels. The good news is our solutions are versatile enough to function as both.
Ultimately, a well-chosen privacy screen for cubicle setups is a practical investment in your team's focus and comfort. For more details on our full range of solutions, explore our selection of cubicles to find the perfect match for your office.
Ready to create a more focused and productive workspace? At Cubicle By Design, our team can help you select and customize the perfect privacy solutions for your office. https://cubiclebydesign.com/